


Create your own print with this guide
Publicado el 26 February, 2019
At Waixo we are much more than fabrics, so today we are going to talk about... Rapports!
If you are a designer or artist specialized in patterns, prints and surfaces you will be delighted to join our community of designers -and we to count on your talent-, but if you are an artist who wants to try his luck in the world of pattern design or are a fashion designer who wants to create your own prints, we encourage you to continue reading this entry dedicated to introducing you to the world of motifs. Plus, you can print it with us later. Doesn't that sound good?
Surely you already know, either because you know it or because you have investigated on your own, that a pattern design, rapport or simply a pattern, is a design that is repeated vertically (from top to bottom) and horizontally (from right to left). In addition to how complicated our pattern can be at the drawing level (this will depend on our skill with computer drawing, by hand or combining both techniques, as we prefer) you may also have doubts about how to make the drawing fit without the cut being too noticeable, especially in very elaborate designs. In short, how to make your pattern look professional. That's why today we are going to make a very simple example, do you want to join us?
The first thing to take into account is the program we are going to use for the creation of our rapport. In the world of design, there are two programs that every good artist should always have at their disposal: Illustrator and Photoshop. Both can be the perfect tool to create a print. Today we will explain how to work in both programs. Let's start!
Illustrator
If you want to create a print from scratch, providing original drawings of your own making, this program is perfect for you. Before starting, you must take into account that all the elements you want to include in the rapport must be open in a separate document. In a moment we will see why.
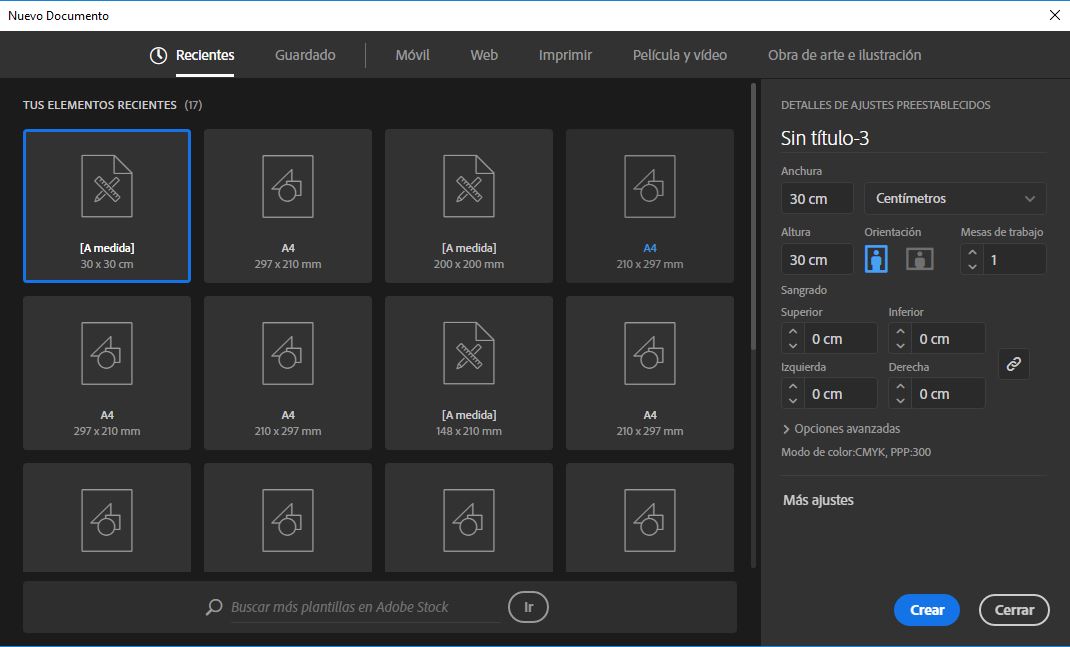
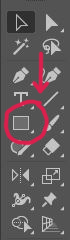
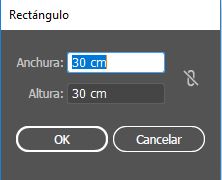
To start our rapport, the first thing we must do is create a new document of the size and shape you choose. In my case, a 30 x 30 cm square.
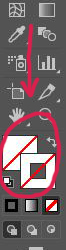
When the square is created, we will remove both the line and the fill.
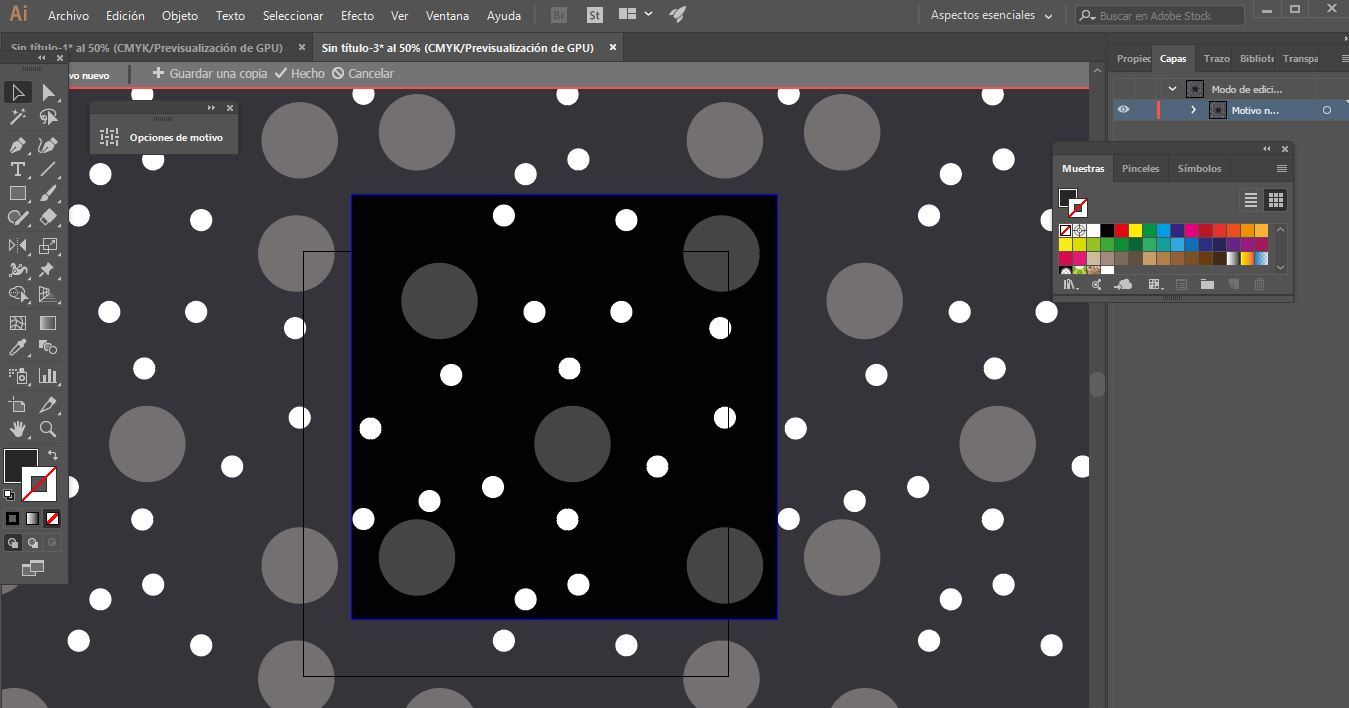
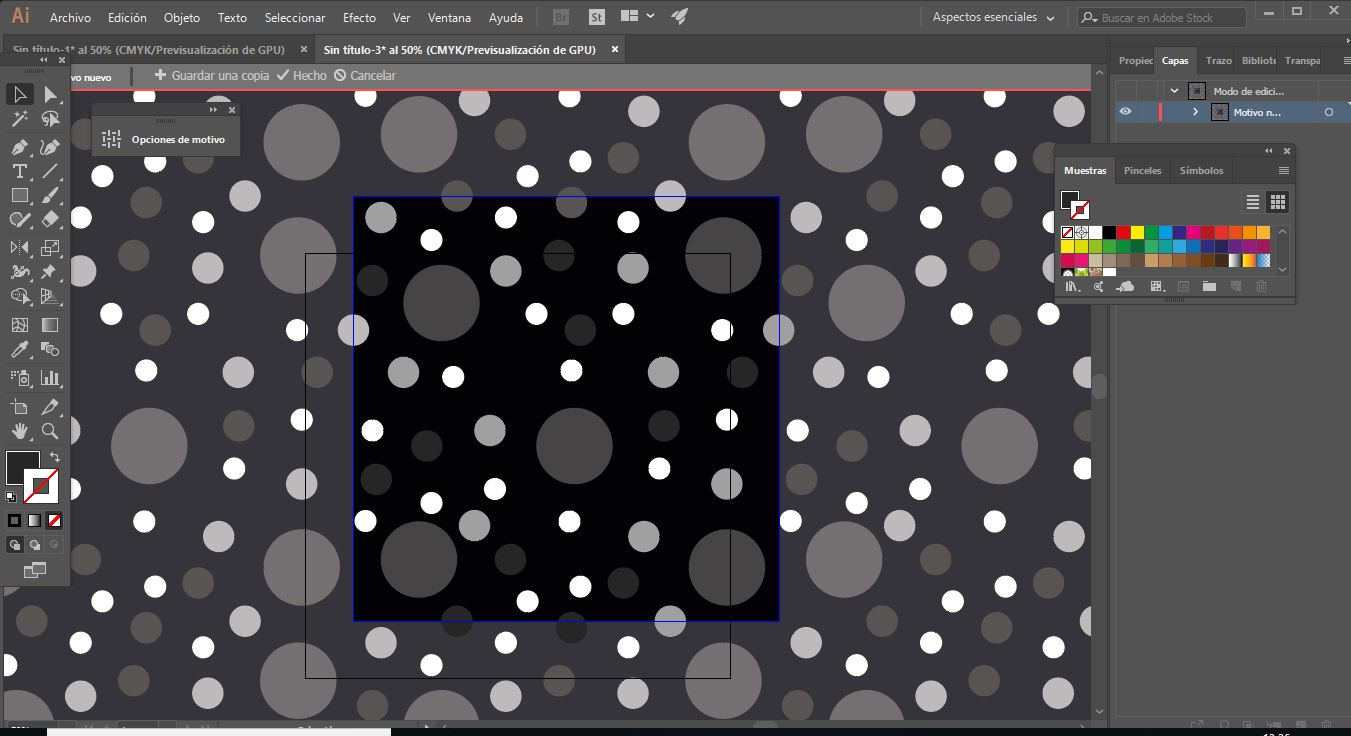
After this, we will click on Object, pattern, create. This way, the workspace where you can start including the previously designed elements will be presented to us.
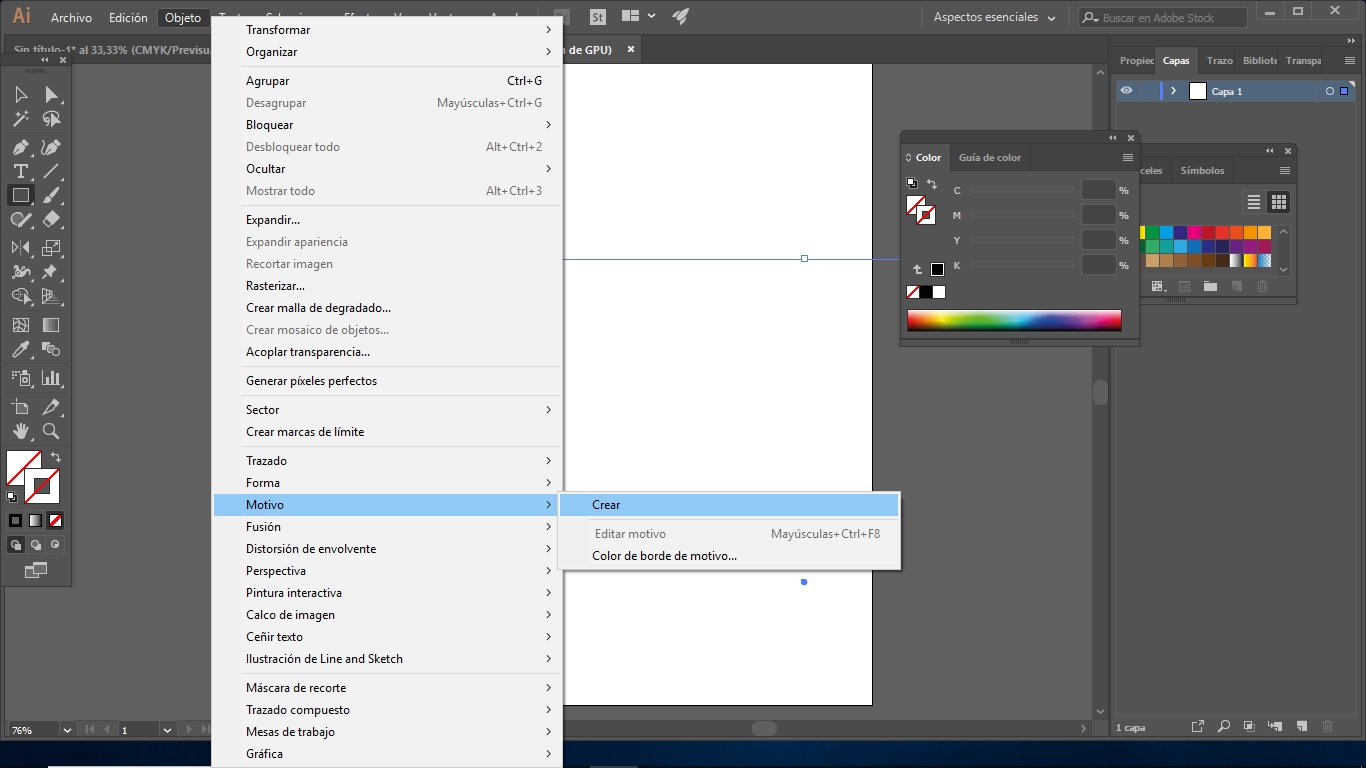

The following box will appear. In it, we can choose the direction our rapport will follow. You can find this option in "Tile Type". If you are not sure which one you are going to use, it is better to leave it for the end, as the preview allows you to see the effect of the print. After this, we start inserting our elements one by one. We will see that as we place the designs, they will repeat. The idea is to move each element until the desired print is achieved.

Now you just have to export it as JPEG and send it to us!
Photoshop
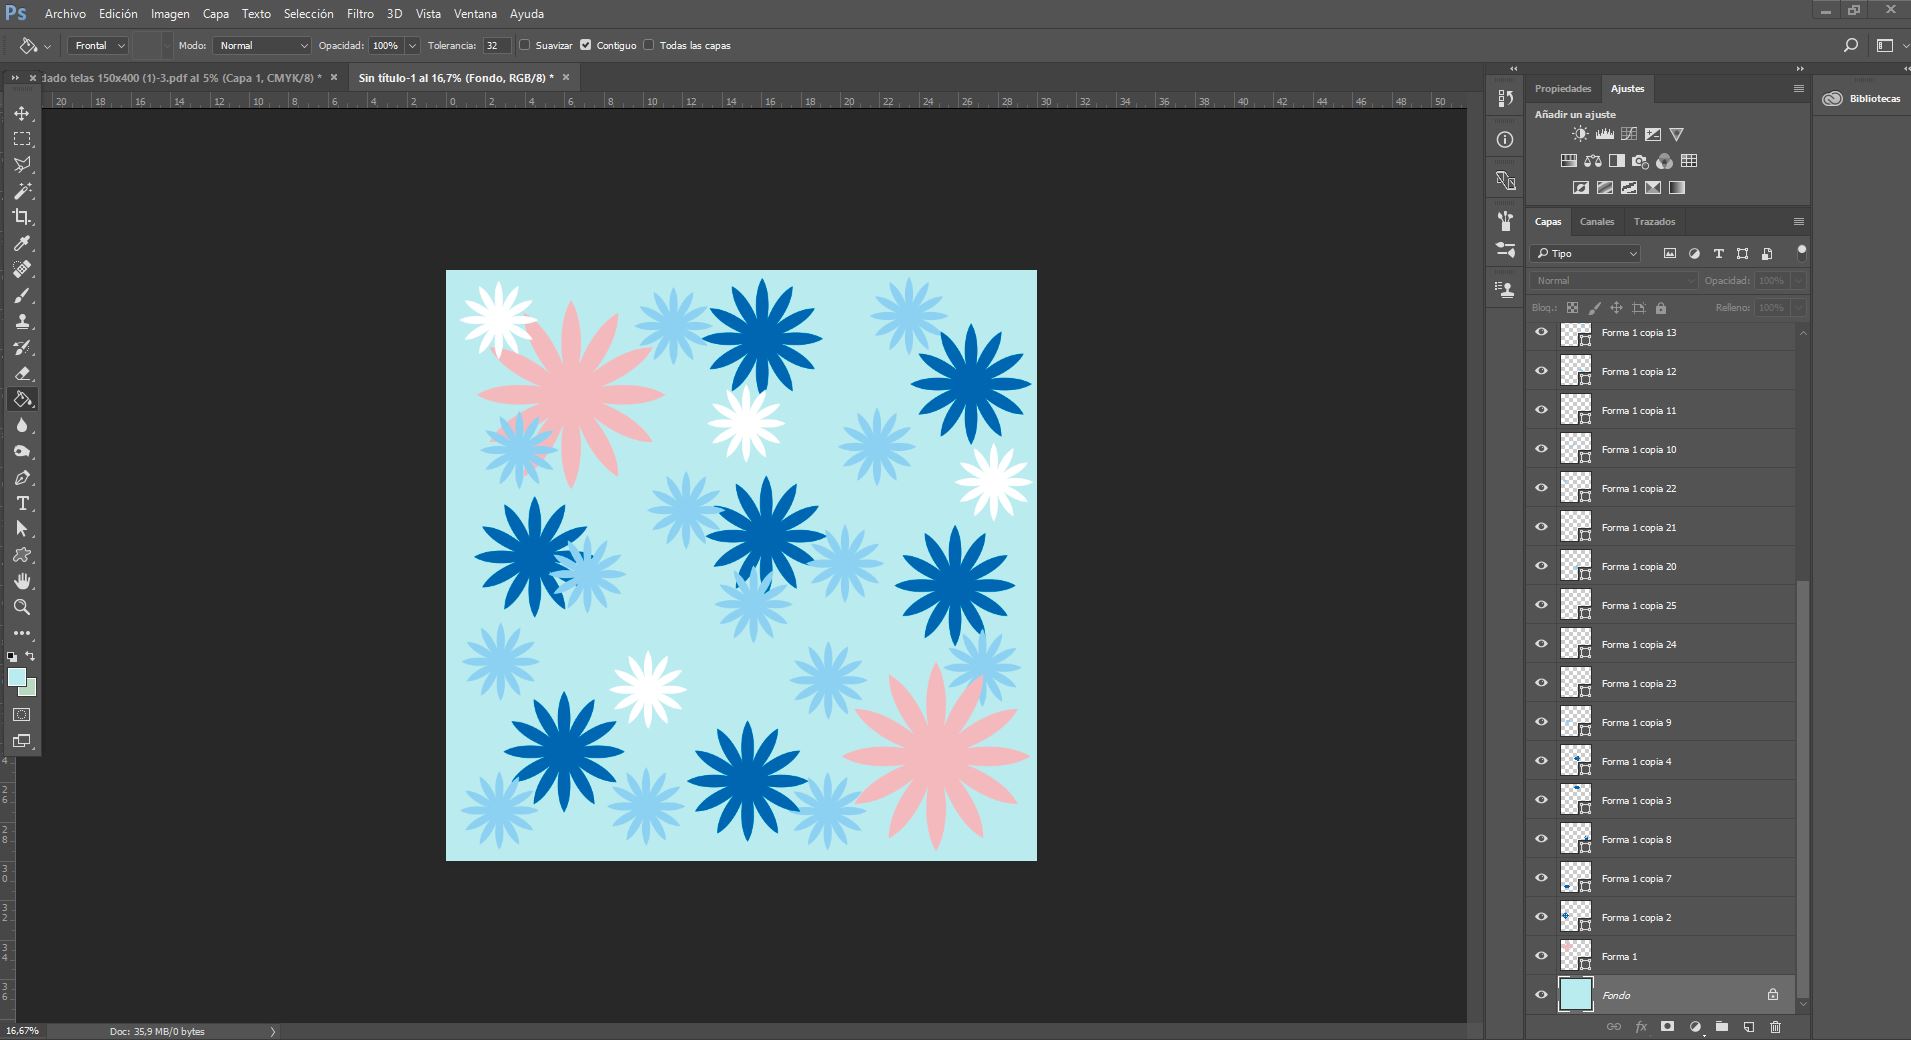
If you don't like complications and want something simpler, Photoshop is perfect for you. Unlike Illustrator, in this program the print comes first and the rapport comes after. Let me explain. To start, all you have to do is set up the base of your print (in my case, a 30 x 30 square) and insert the elements you have created (don't forget that they must be saved as PNG if you have previously made them!) until it is complete.
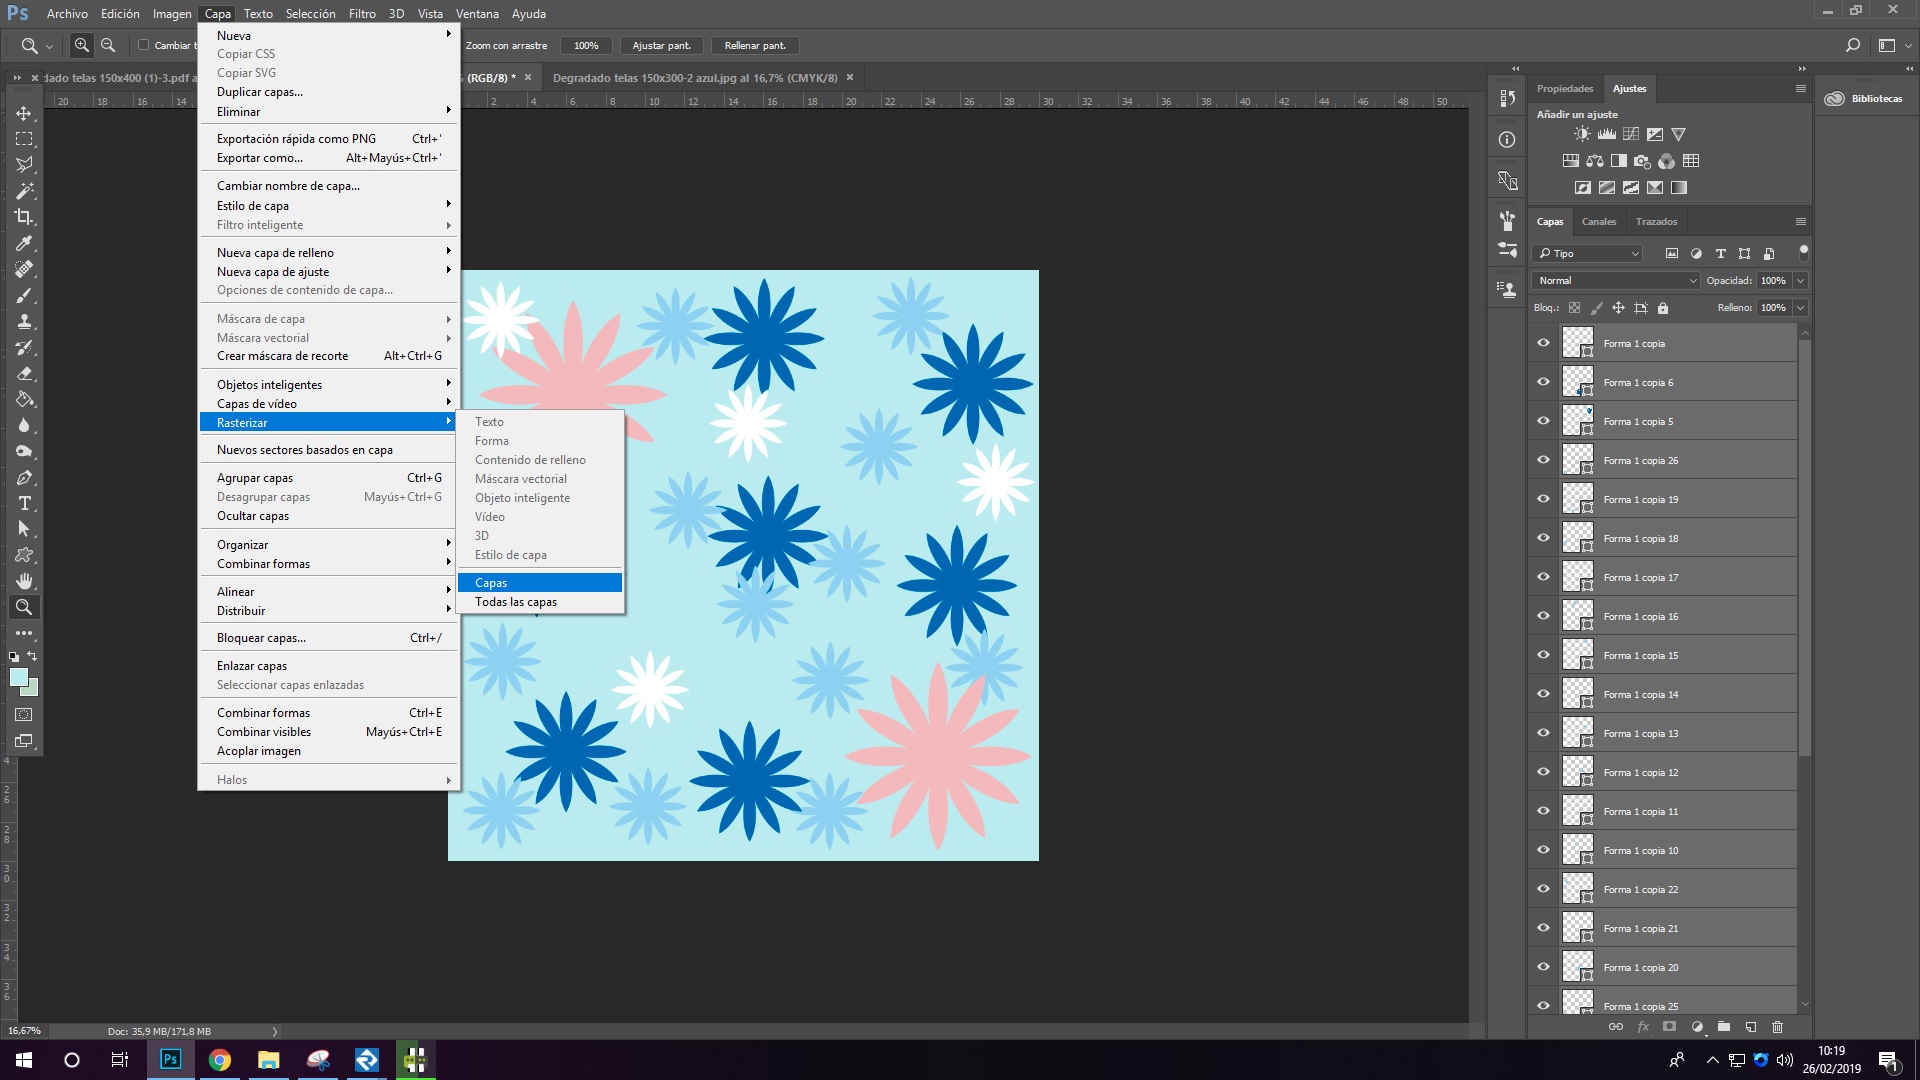
Once our print is designed, we must rasterize all the layers of our print to convert them into a single one. To do this, we select all the shapes of our print and click on "Layer", "Rasterize" and "Layer". In this way, we will convert all our designs into normal layers. Then, we must select all the layers, including the background, if it has one (it may appear with a small padlock. If so, it will have to be unchecked), and simultaneously press the "Ctrl" and "E" keys.
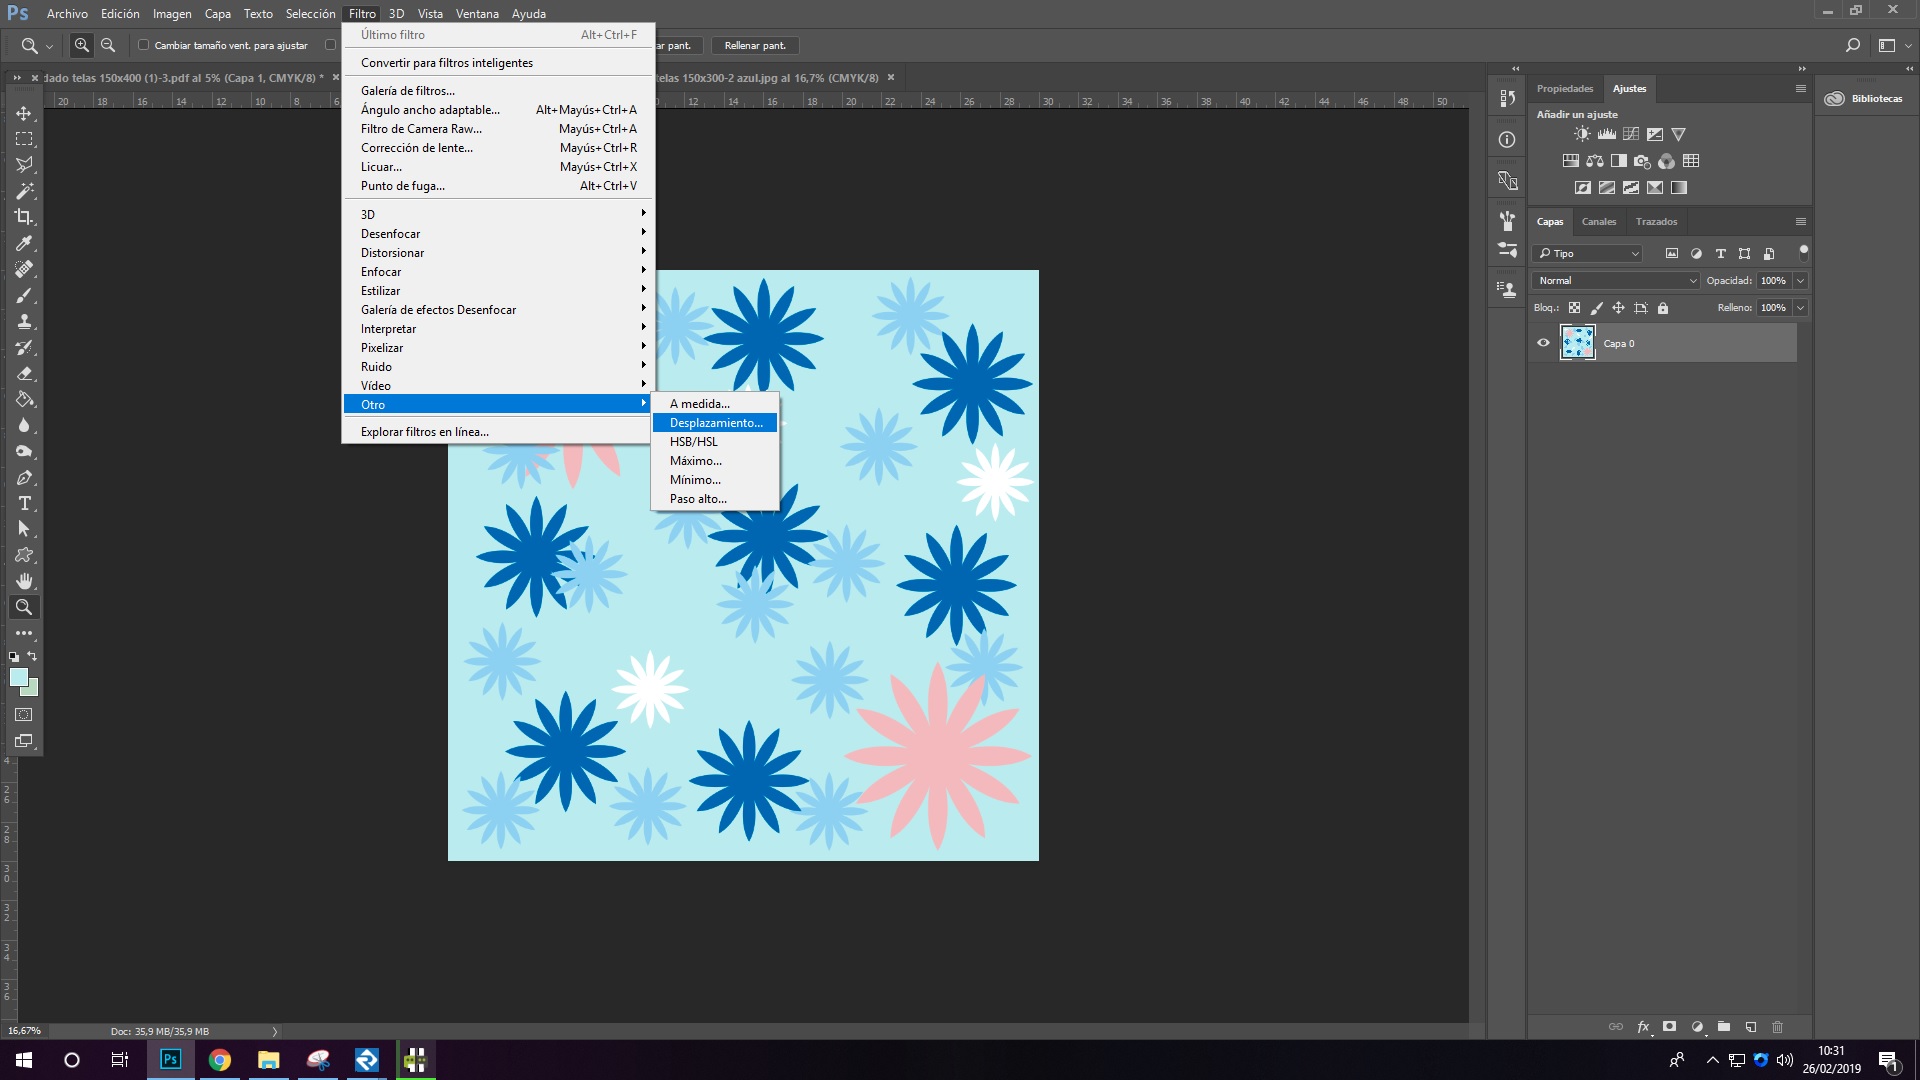
Once this is done, all the layers will be grouped and all that remains is to create the repetition. To do this, we will go to "Filter", "Other" and "Offset" in the top menu.
And we already have our rapport done! Remember that you always have to save it in PDF or JPEG. We hope you enjoyed it and find this guide helpful. If you have any questions, please do not hesitate to contact us at info@waixo.com