


How to eliminate white lines that spoil your rapport
Publicado el 27 July, 2020
How many times have you created a rapport and when trying to repeat it, you have discovered with horror some unpleasant white lines over the elements? At Waixo we have also suffered it, and that is why we bring you a post that will solve all your problems.
Save in Illustrator
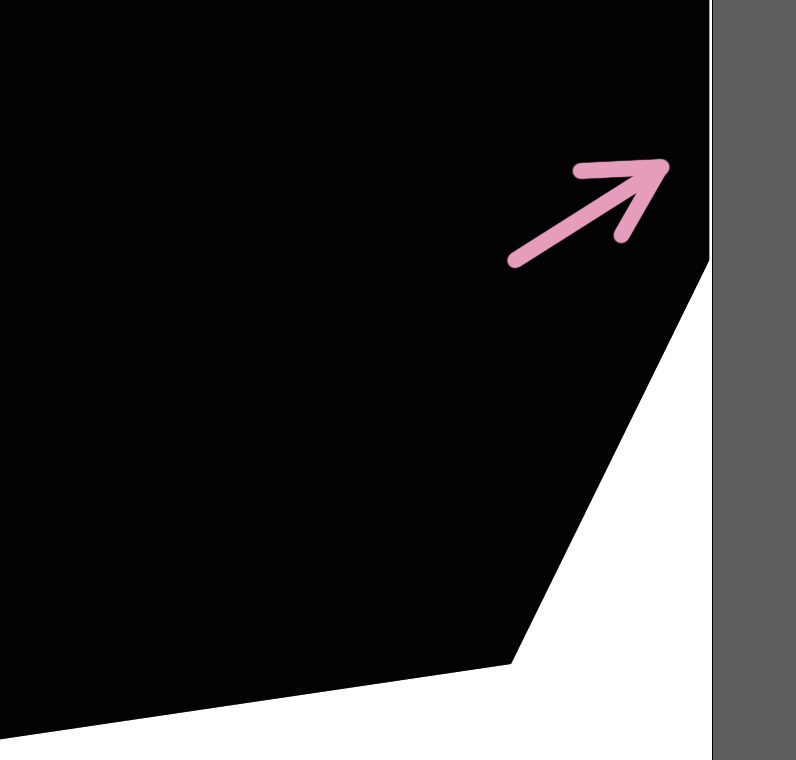
One of the main reasons is saving the print in Illustrator. Depending on the position of the rapport, no matter how correct it looks to you, once you save it, the white lines will appear without you realizing it. That's because it's not fully adapted to the artboard and surely by a few millimeters, the rapport is not occupying the entire document.
That leaves us with the following options:
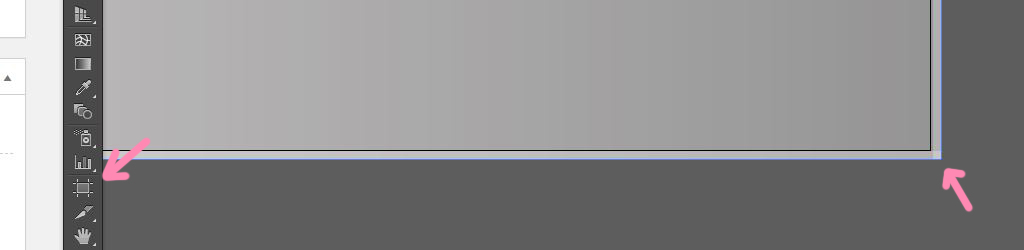
- Adjust it meticulously both vertically and horizontally to the artboard. This can be done easily by going to the top menu Object -> Artboards -> Fit to Artwork Bounds. If it gets out of alignment, you'll have to do it manually by clicking on the artboard symbol.
- Try to remove “Anti-aliasing” when exporting the file as a JPG. If you decide to try your luck, it is possible that if the line is tiny, it might work. The only thing you should check is if any of the anti-aliasing options are activated. In that case, you must remove it by clicking on “None”. If you leave “Supersampling” or “Optimized for text” activated, the edges will probably blur but the famous white line will still appear.

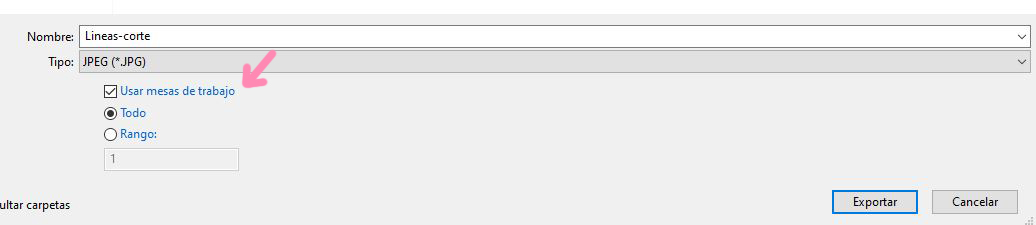
- If the other two options haven't worked for you, you can try saving by selecting "Use artboards" whether you are starting from the Illustrator file or the JPG with the lines. In the case of the JPG, when adjusting the artboard, you will have to scale it so that the lines are outside of it. This way, only what is within the adjusted artboard will be saved.
The magic of Photoshop
Here you have several possibilities depending on the origin of the file:
Photoshop
If you have created the print in Photoshop, it is possible that we are facing the same problem as in Illustrator. A bad cropping or adjustment of the elements, or more specifically, of the background, can cause a few mere millimeters to spoil the entire print. To avoid this, you should zoom in as much as possible on each side of the file. This way, we will make sure that there is nothing left blank. If the damage is already done, and you only have the JPG, you can try the same technique as in the next section.
Illustrator
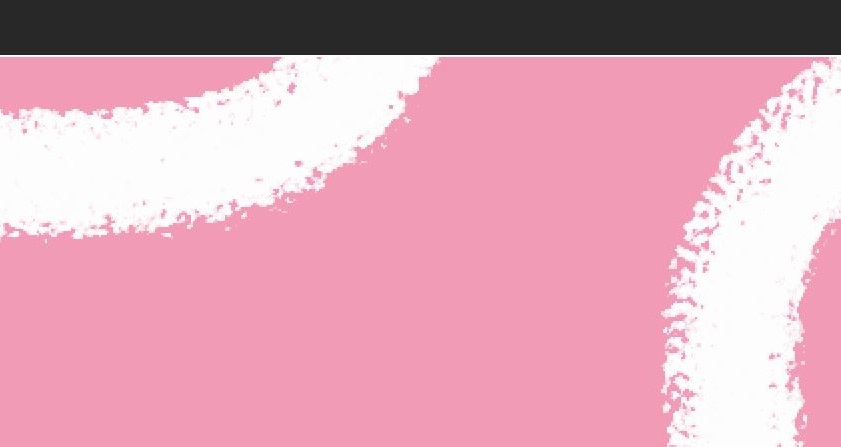
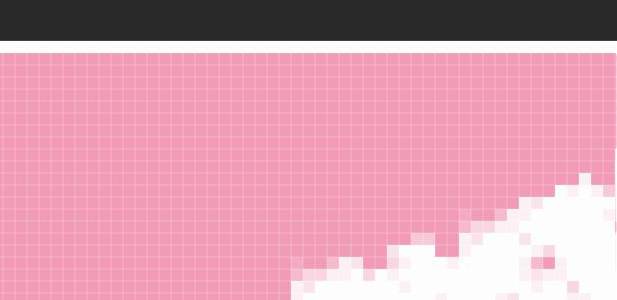
If you have created the print in Illustrator and you no longer have the original file, you can fix the JPG directly in Photoshop. To start, once the design is open, we will go to the top menu and click “Filter”, “Other” and “Offset” and we will indicate, for example, the following parameters: -500, +500.

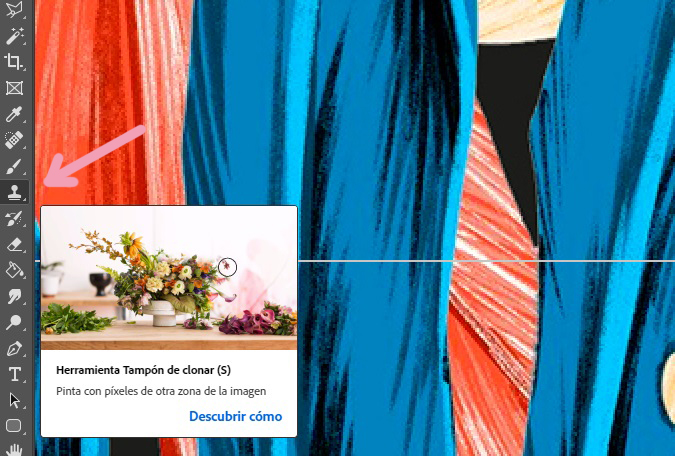
This way, our design will shift, allowing us to perfectly see all the lines that are formed and would need to be removed. Now, all that's left to do is to take the brush and paint over them so that it looks as it should. If it's a somewhat complex pattern, it might be faster to use the Clone Stamp Tool. Simply select it, and click on the desired cloning area while holding down the Alt key. Then, just "paint" with this tool to repeat the same pattern on the side where the line is.
And your print will be free of lines! Now you can repeat your rapport as much as you want without anything spoiling it.