


How to make a fabric tote bag step by step
Publicado el 26 May, 2025
If you're looking for a simple, useful, and stylish sewing project, this fabric tote bag tutorial is perfect for you. I'll show you how to sew a sturdy and beautiful tote bag, ideal for carrying everywhere. And the best part is, you don't need to be a sewing expert!


✂️ Materials
Before you start, make sure you have the following materials on hand:
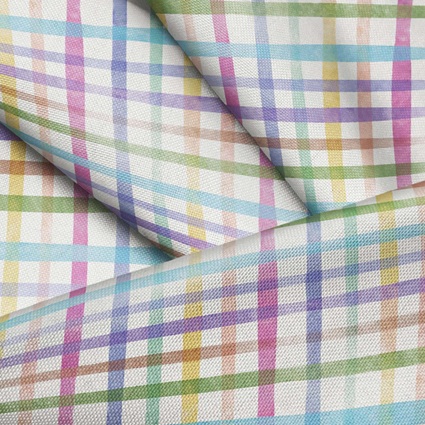
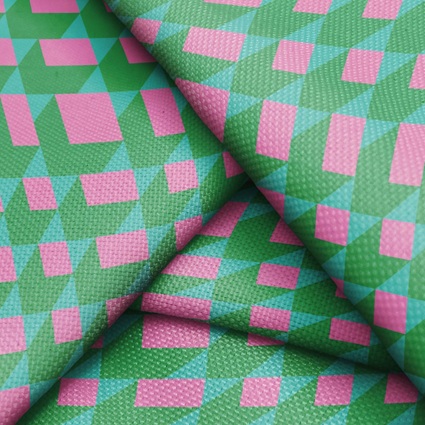
- Main fabric: Recycled PET Canvas - Dallas
- Lining (optional): lightweight cotton.
- Cotton webbing or fabric for handles (2 strips of 55 cm or 2 of 95 cm if you want them to reach the base).
- Strong thread.
- Sewing machine.
- Scissors, pins, ruler or tape measure.
- Iron.
- Decorative label (optional).
📏 Pattern measurements
Here are the standard measurements for a medium-sized tote bag:
- Front and back: 35 x 38 cm
- Side strip + bottom: 10 x 86
- Handles (x2): 4 x 55


🧵 Step by step
1. Cut the pattern pieces
Cut 2 rectangular pieces for the front and back, one long strip for the sides and bottom, and the handles. If you're using a lining, repeat the process with the inner fabric.
2. Prepare the handles
- If using cotton webbing, simply cut and set aside.
- If making fabric handles: cut 2 strips 8 cm wide, fold them like bias tape (towards the center and then in half), and sew along the length to reinforce them.
3. Attach the handles
- Measure about 8 cm inwards from the outer edge.
- Pin the handles from the bottom of the bag to the top.
- Make sure they are not twisted and sew in an "X" shape to reinforce.
4. Join the outer pieces
- Sew the side strip (10 x 86 cm) to the edges of the front and back pieces, forming a "U".
- Turn the piece and reinforce the seams with a second stitch or overlock.
5. Line the bag (optional)
- Repeat the same process with the lining pieces.
- If you want to add an inner pocket, now is the ideal time.
- Place the lining inside the bag with right sides facing and sew the top edge, leaving a small opening.
6. Final finish
- Turn inside out through the opening.
- Iron the edges well and make a topstitch reinforcement 5 mm from the edge.
- Place the lining inside the bag with right sides facing and sew the top edge, leaving a small opening.
And done! You now have your handmade fabric tote bag, sturdy, practical, and customizable.
🎯 Tips for customizing your bag
- Add an outer or inner pocket.
- Use two different fabrics to combine colors.
- Apply embroidery, fabric paint, or labels for a unique design.
📌 Conclusion
Making a tote bag at home is a great way to practice sewing, reduce waste, and create a unique accessory. This step-by-step tutorial guides you from pattern to finish, ideal for beginners and intermediate sewers.