


How to Make Seamless Patterns in Seconds – Image to Pattern
Publicado el 14 April, 2026
Image to Pattern, the Most Current Solution for Print Design
The technological solution Image to Pattern defines the current state of the art for creating tiles from images. It allows you to select specific areas of an image and perform horizontal and vertical staggered arrangements with the highest precision.
The PROFESSIONAL's vision
"What surprises me most about Image to Pattern is how it democratizes textile design. The ability to capture a texture or a flower from your surroundings with your phone and turn it into a perfect repeat in a matter of seconds changes the game. It's the ideal tool for those of us looking for professional results and print quality without the technical complications of traditional editing software."
— Margarita Lindo, Designer
We explain each step
Using Image to Pattern is very simple, you should start with an image of the best quality you have and upload it here: Image to Pattern Panel
1. Upload an Image
You can drag the image to the panel from your explorer, click on "Select File" or use a sample image by clicking on "Use a sample Image"
2. Define the Quality of the Input File
Once the image is uploaded, and depending on the quality of the source file, you can choose a lower quality by clicking on the "Quality" option to speed up the efficiency and fluidity of the solution; currently, settings for 1MP (one megapixel), 3MP, and 9 MP are available.
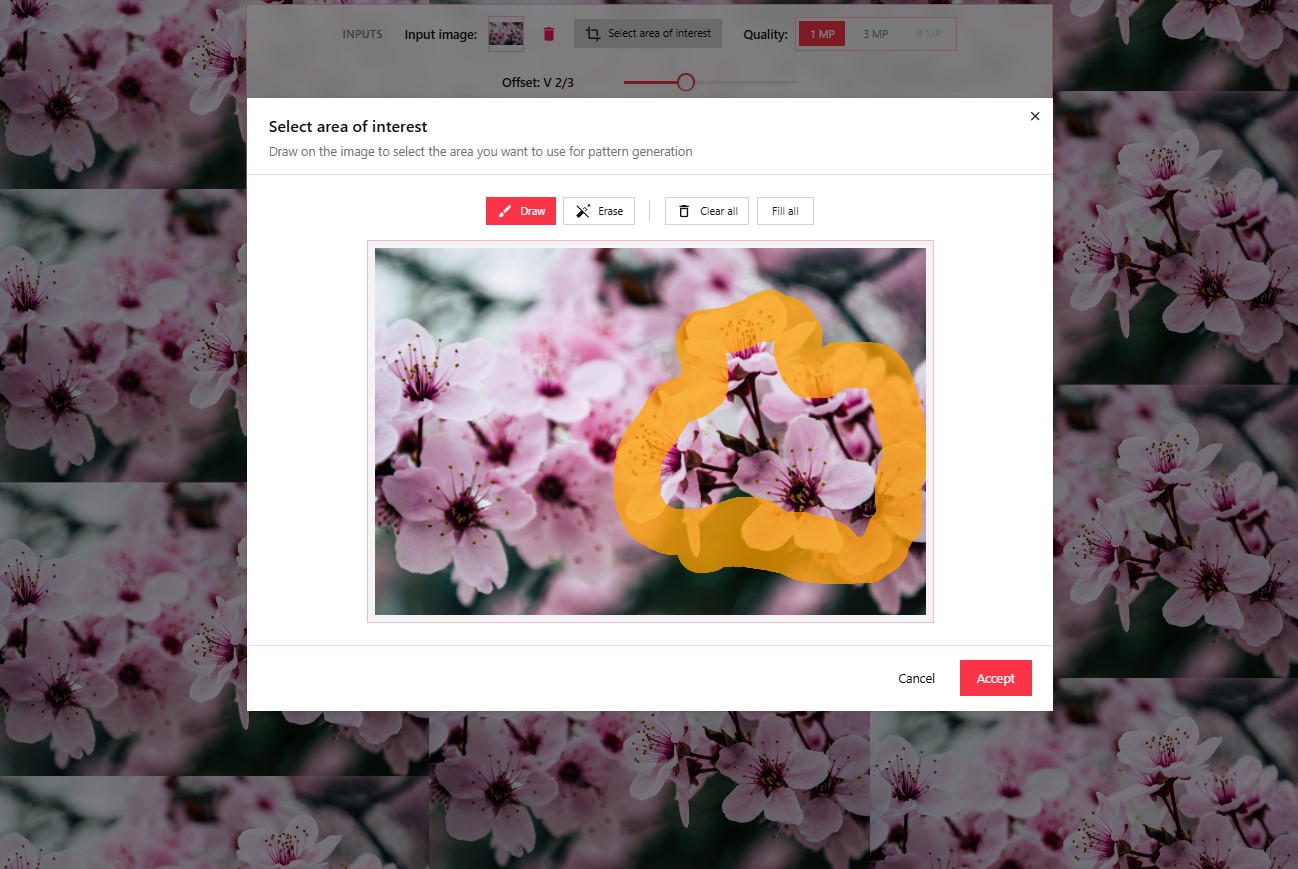
3. Select an Area of the Image (Optional)
You can, by clicking on the crop icon "Area of interest selector", select the element you want for your final pattern; just make a closed silhouette so that all the pixels, once the accept button is clicked, pass to the design panel.
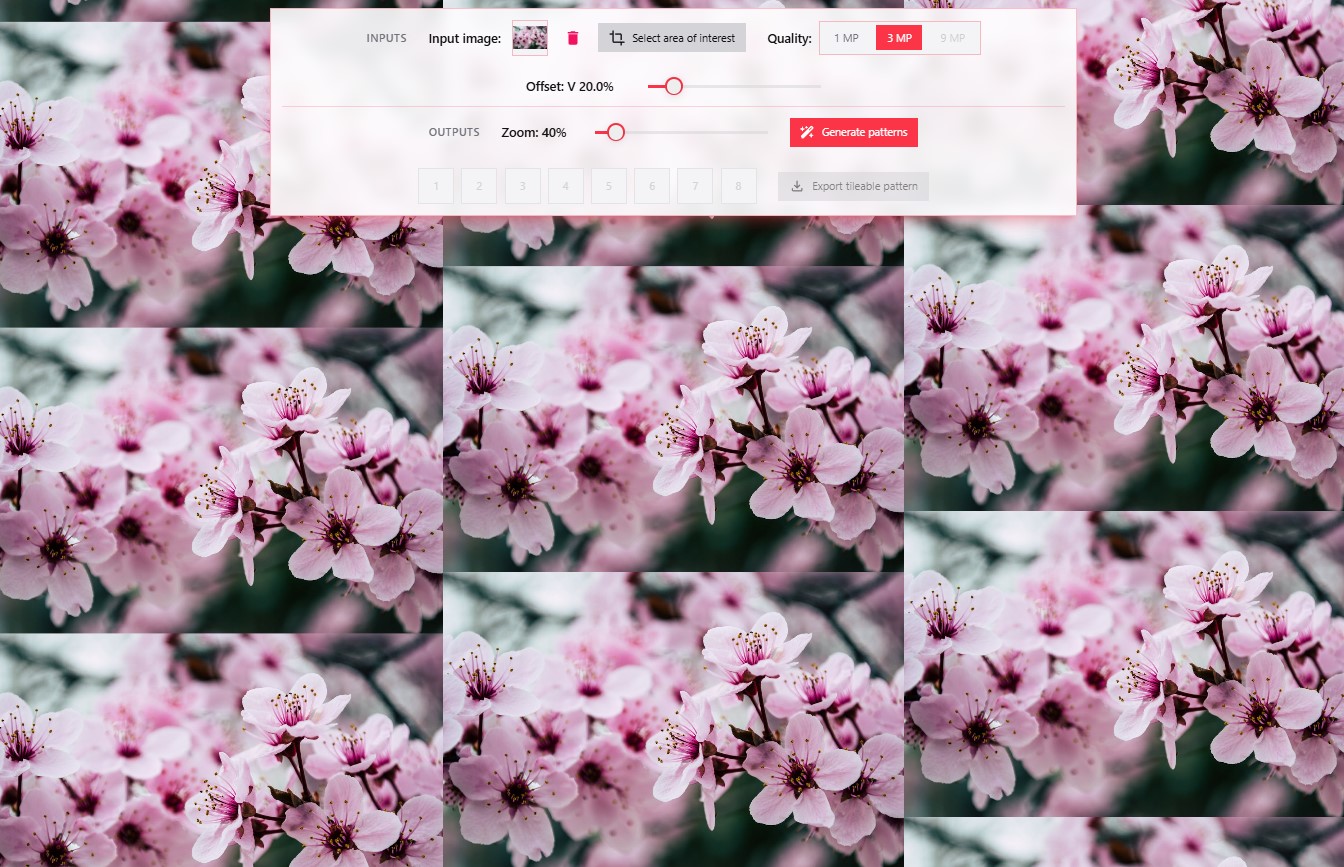
4. Adjust the Horizontal-Vertical Offset to your liking
This is where your taste becomes especially important and is key to achieving the best result. Play with the Offset to arrange the elements in vertical or horizontal staggered patterns to your liking. You can go back to step 3 and adjust the silhouette as many times as you want.
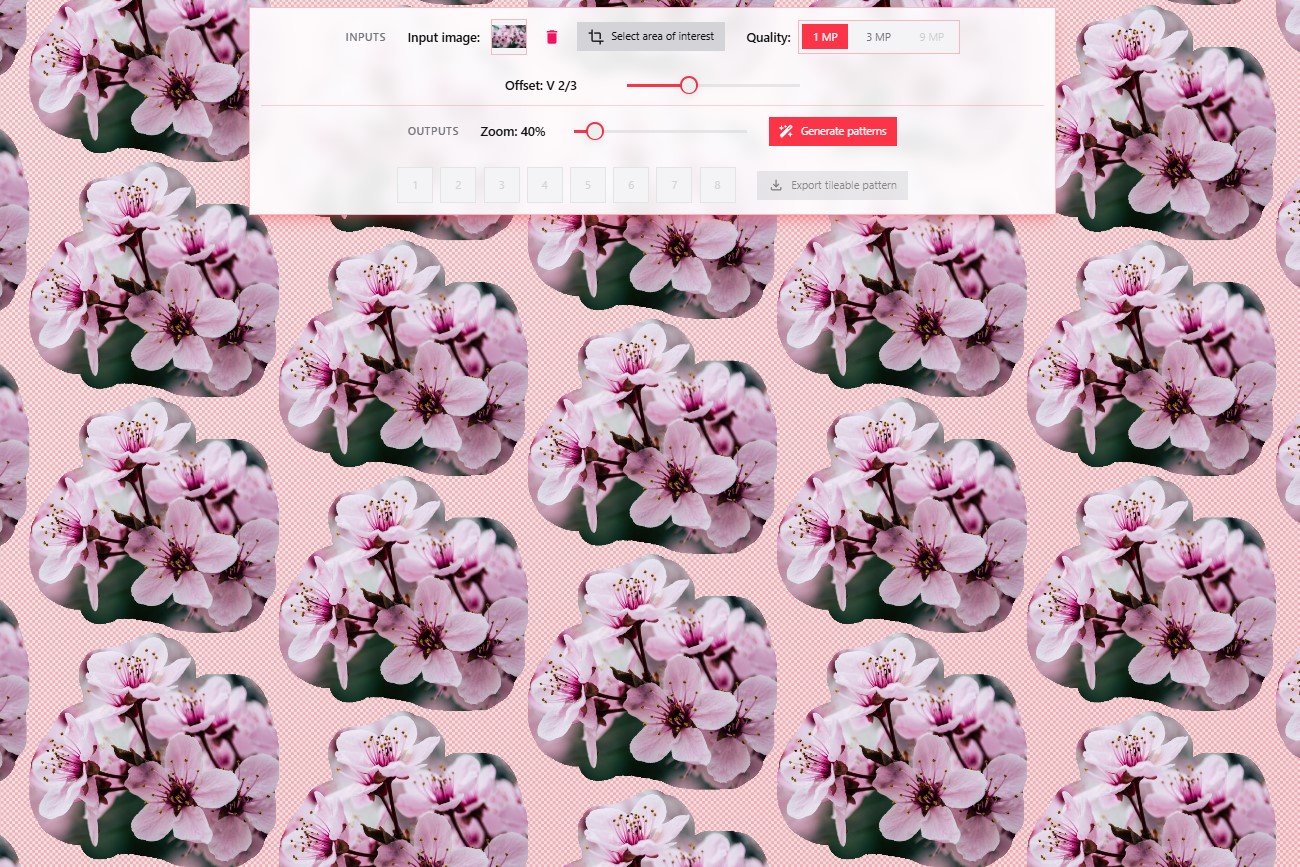
When the desired arrangement is achieved, click on the "generate tiles" button, the solution will then fill in the empty areas and the magic will begin.
5. Select the result you like best (8 options)
Select each of the 8 resulting options to view them in the panel. The first 4 are aligned with the content of the image itself without generating new content, the next 2 produce an "erasing" effect, and the last two generate new creative content aligned with the original image.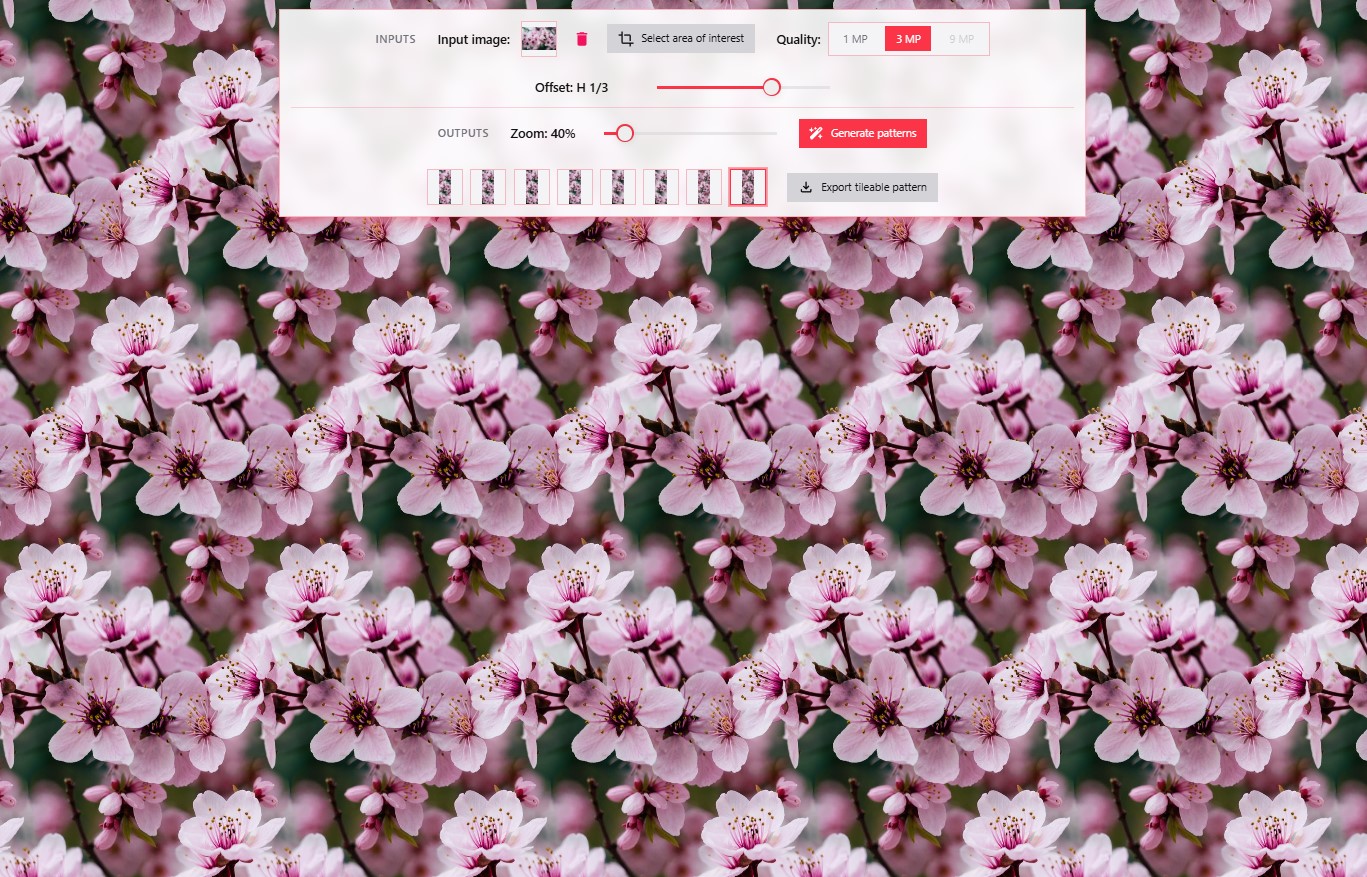
6. Download the option you like best
Download the ones you like best; at this moment, the tile will be generated ready to be used with pixel precision and without seams. Put it to the test.✨ Final tips
- • Source Image: you can upload images up to 9MP; if they are larger, they will be automatically adjusted.
- • Area Selection: It is advisable to use the image selector to break the hard edges of typical input images that are square or rectangular; a selection with curved contours usually improves results.
- • Test the result: we guarantee that all the results you obtain are seamless patterns, with pixel precision.
Create your own Printed Designs
We provide you with the most up-to-date Technological Solution.